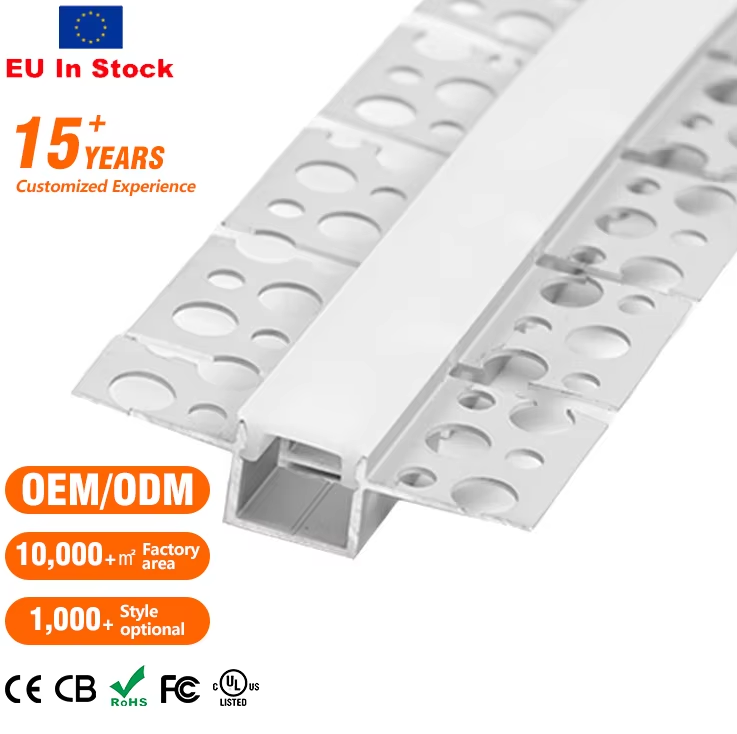
Kitchen counters and workbenches look terrible when a bare LED strip reflects off glossy tiles or spills harsh light into the eyes. Anyone who has tried the quick peel and stick approach knows the result. The adhesive fails after a few months, the strip sags, and every single diode becomes a glaring dot on the countertop. A proper led strip profile solves these problems by giving the strip a flat mounting surface, a clean diffuser, and enough aluminum mass to pull heat away from the diodes. That last part gets overlooked often. LEDs run cooler than halogens, but they still degrade faster when trapped under cabinets with no airflow. A simple aluminum channel turns a fragile ribbon into a finished fixture that looks intentional rather than improvised.
Material thickness changes everything. Cheap extrusions with walls under one millimeter bend during installation and transfer heat poorly. Better profiles use 6063 T5 aluminum with wall thickness around one to two millimeters depending on the shape. Diffuser choice matters just as much. Clear polycarbonate covers show the individual diodes unless the strip density is very high. Frosted or opal diffusers smooth the light into a continuous line, which is what most residential kitchens need. The profile dimensions must also match the strip width. An eight millimeter PCB will rattle inside a twelve millimeter channel unless a mounting clip is included. Before buying a case of extrusions, grab a sample length and test it with the actual strip and power supply planned for the job.
Different mounting locations call for different shapes. Surface mount channels sit directly against the cabinet frame. Recessed profiles slide into a routed groove and disappear into the woodwork. Corner profiles direct light outward at an angle, which helps when the cabinet has a lip. Here is a quick comparison based on typical kitchen installations.
| Profile Style | Best Mounting Spot | Light Direction | Installation Effort | Typical Use Case |
|---|---|---|---|---|
| Surface mount | Under cabinet face | Downward | Low | Retrofit projects |
| Recessed | Inside routed slot | Downward | High | New cabinet builds |
| Corner angled | Rear edge near wall | Forward and down | Medium | Deep cabinets |
| Plaster in | Drywall ceiling edge | Downward | High | Seamless ceiling lines |
| Round tube | Open shelving | Omnidirectional | Low | Display lighting |
Recessed profiles look the cleanest but require a router and careful measuring. Surface mount versions are far easier for weekend projects and still deliver a finished appearance when the diffuser is installed properly.
A renovation crew in Phoenix spent two days replacing a failed under cabinet system in a townhouse complex. The original contractor had installed bare strips with no channel, and the adhesive had turned brittle from repeated cooking humidity. The team switched to surface mount aluminum channels with opal diffusers, using a one hundred twenty LED per meter strip instead of the original sixty LED version. The higher density strip combined with a frosted cover produced a smooth light line with no visible hot spots. The interesting part was the thermal reading. After three hours of continuous use, the channel surface measured eleven degrees Fahrenheit cooler than the bare strip had measured before the retrofit. That temperature difference extends diode life and keeps the diffuser from yellowing early.
A flat diffuser sends most light straight down, which is fine for task lighting. A curved or domed diffuser spreads the beam wider and softens the edge shadow. This matters when the countertop has a textured surface or the backsplash is made of reflective glass. Wide beam diffusers also reduce the reflection line that appears on polished stone. One mistake to avoid is using a clear diffuser with a low density strip. The dotted line effect ruins the whole point of adding a profile. If the strip has fewer than one hundred twenty LEDs per meter, always pair it with a frosted cover. For high density COB strips, a clear lens can work because the emitters are already packed close enough to look continuous.
The Illuminating Engineering Society publishes recommended illuminance levels for kitchen task areas. A range between three hundred and five hundred lux on the work surface is a common target for food preparation zones. That data point helps determine strip output and profile placement. Photometric testing of a typical nine watt per foot strip inside a frosted aluminum channel shows roughly fifteen percent light loss compared to a bare strip. That loss is the tradeoff for visual comfort. The channel also maintains color temperature stability better than an exposed strip because the aluminum acts as a constant heat sink. When comparing suppliers, ask for the aluminum alloy grade and the diffuser transmittance percentage. Those two numbers reveal more than marketing claims about brightness.
Clean the mounting surface with isopropyl alcohol before anything else. Kitchen cabinets accumulate an invisible grease film that prevents adhesive tapes from bonding. For heavier channels, use the included mounting clips and short screws instead of relying on tape alone. Position the profile so the diffuser faces slightly away from the seating area to avoid glare. For corner cabinets with a face frame, mount the channel behind the front lip so the light lands on the work zone without spilling onto the floor. LightWolf offers a range of aluminum extrusions and matching diffusers with consistent dimensions across production batches. The factory in Guangdong handles extrusion, anodizing, and cutting in house, which keeps lead times predictable for contractors who order by the carton. When a lighting layout calls for an even line of light under every cabinet, the profile choice matters as much as the strip inside it.

 EN
EN